Albert Einstein
To possess the power and focus to awaken learning in young children, is truly a form of art. A learned craft, that not all can master. At one point in my life, I was a Kindergarten Teacher. I was excitable, energetic, enthusiastic – stressed, tired and worried about letting my students down and not giving it my all. If there is any profession in this world that is under appreciated – it’s teaching.
So when I realized that Alexandria was showing a true curiosity in the world and everything around her. “What is that?” was a very common question, and “Why?” usually followed. So, for the last year, I’ve been working really hard with her using some of that Kindergarten mentality & experience to enrich her every day life with simple, fun activities… I’ve not really posted about it before, because I didn’t see it really as “homeschooling”, until now. When I realized that I’ve been using full lessons, planning for the week of lessons and pretty much creating a ‘routine’ of learning in our home. So, schooling. at home. homeschooling.
So, for all intents and purposes – we’re homeschooling The Chech for now.
I’m always looking for ways to improve, so please share your stories & suggestions down below! I’ll start the conversation here with a really fun series of lessons on Plant Life Cycles; and how I’m using simple Project Based Learning Principles to reinforce this science unit.
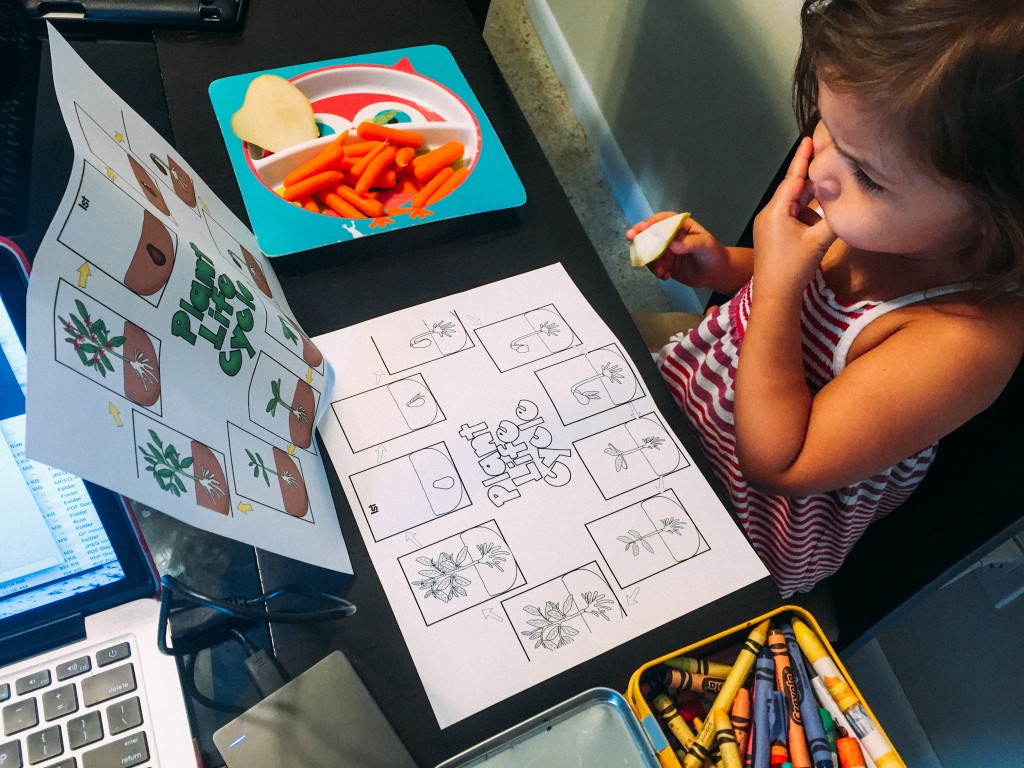
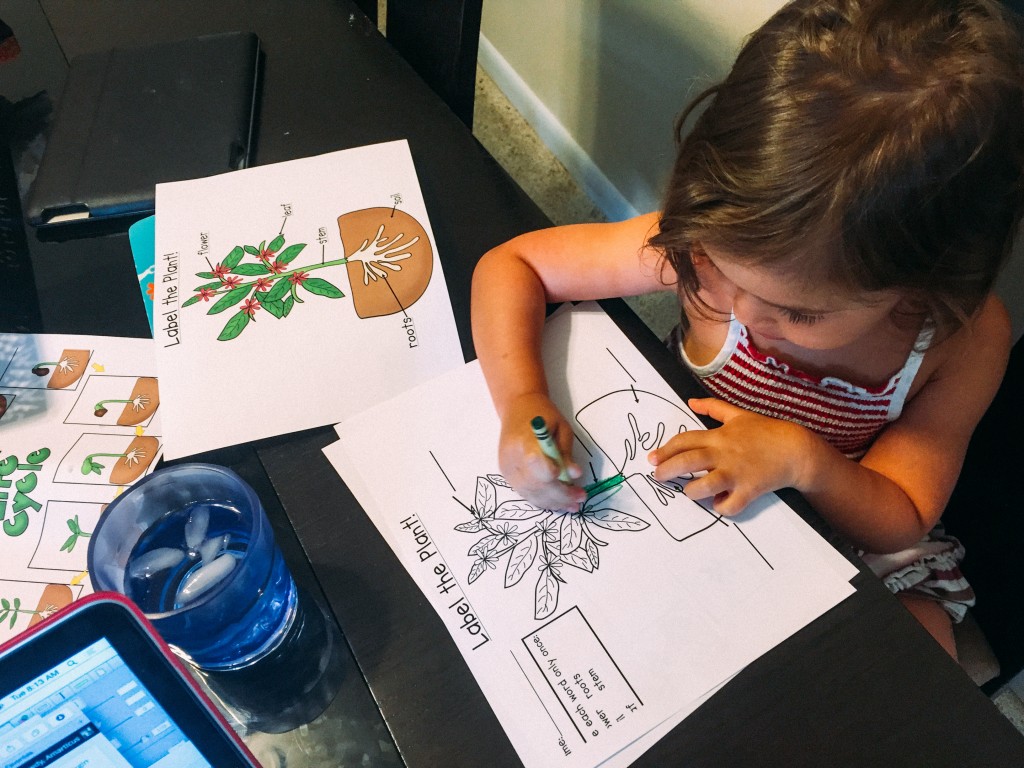
One of my favorite vendors on Teachers Pay Teachers is “Herding Kats in Kindergarten” – where I purchased this Plant Lifecycle Lesson Pack for $4.00. With my design experience I could probably MAKE my own materials, but I buy most of my units from TeachersPayTeachers or similar education sites because, time. This awesome unit comes with Math activities, a growth chart to track the progress, as well as great cut and paste activities – which we’ll be doing for the rest of the week as enrichment.
We started this morning with 15 minutes of “How Plants Grow” on ABCMouse.com. We read some virtual books about the Parts of a Plant, completed two virtual puzzles about the parts, identified the beginning sounds of each part, and eventually attempted to sound out the actual words. Then we moved on to paper – which we’re really struggling with because, threenager.
We needed to make a trip to Home Depot for some house stuff anyways, so I figured what a perfect time to get tools for a super fun Science Experiment based on the plant life cycle.
For this experiment, we are testing to see which seed “sprouts” first, a seed planted in soil or in a ziplock bag.
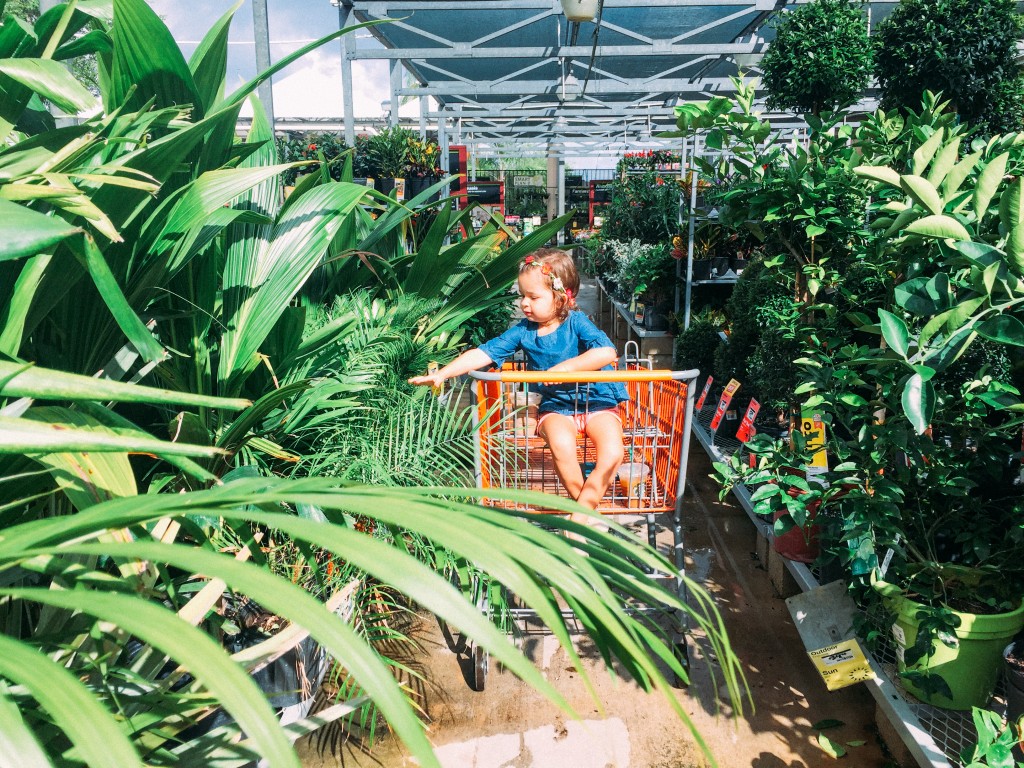
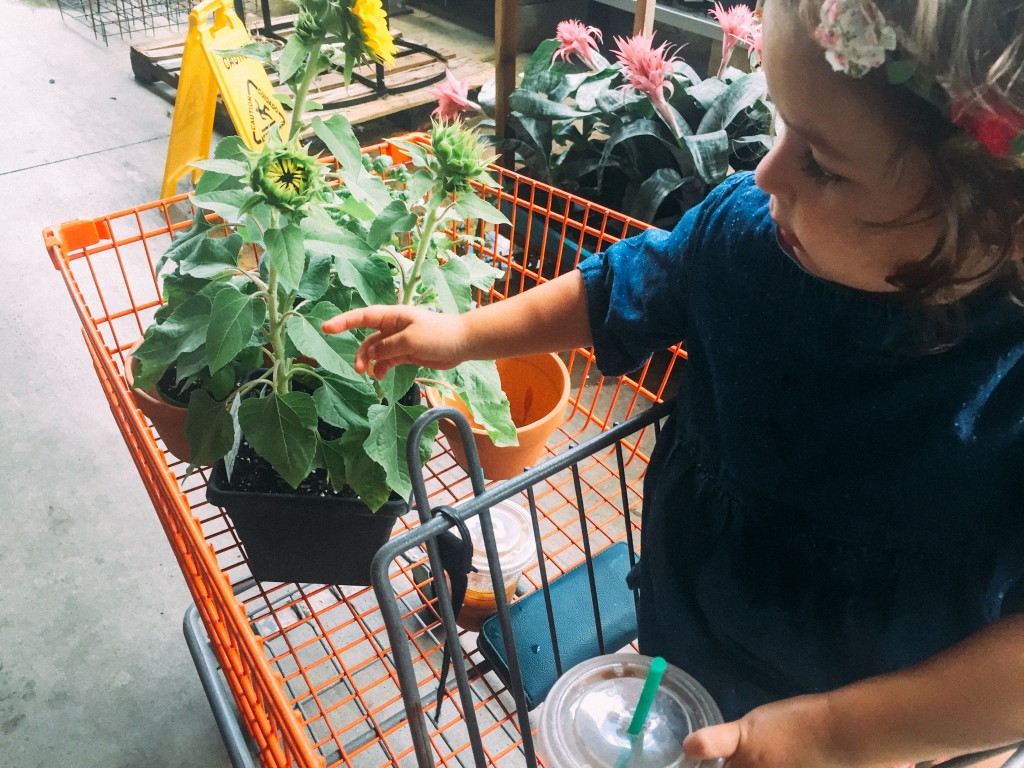
While gathering materials, we may have gotten a little distracted by sunflowers & palm trees.
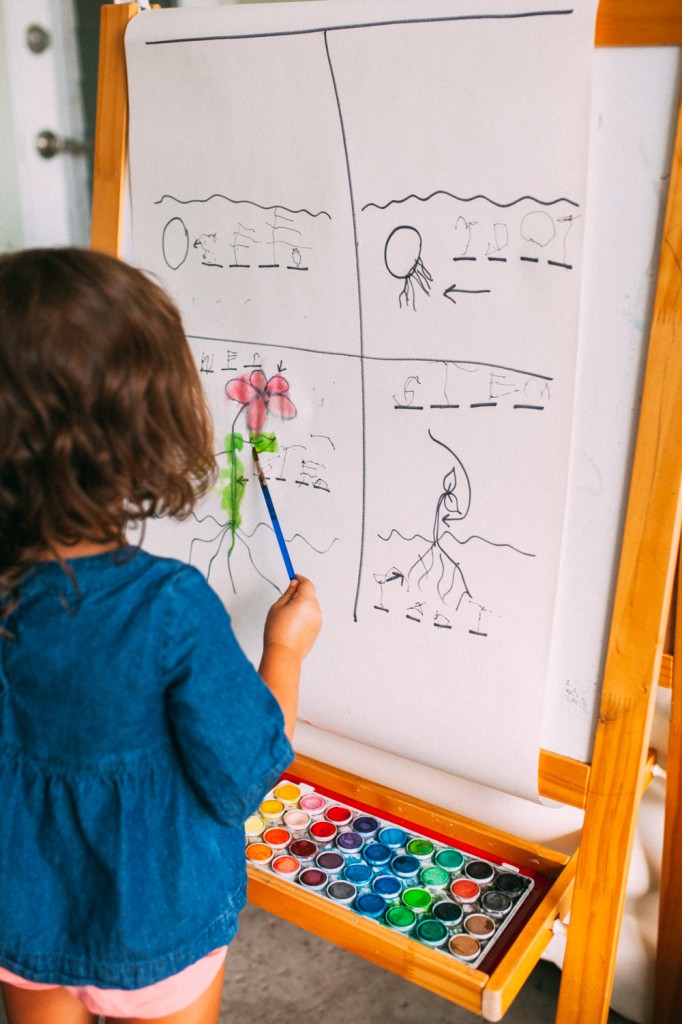
Later that day after a few hours of play time & lunch, it was time to get started on our project – but there was a lot of prep work that needed to be done. So using an Ikea Art Easel & Paper Roll, I created a giant “printable” based on what we had learned in the morning.
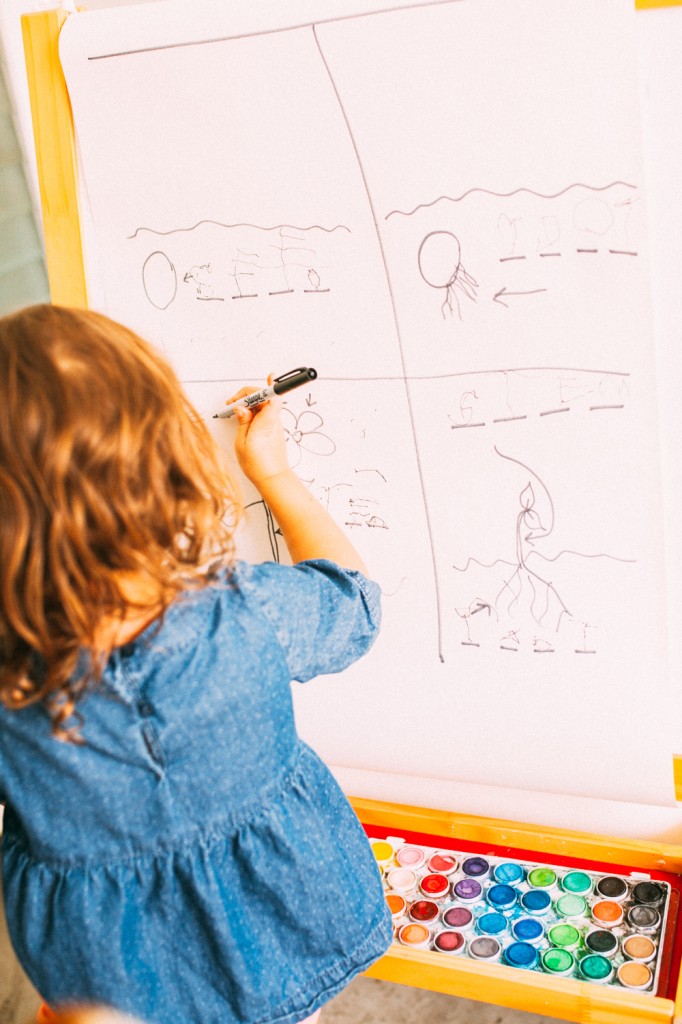
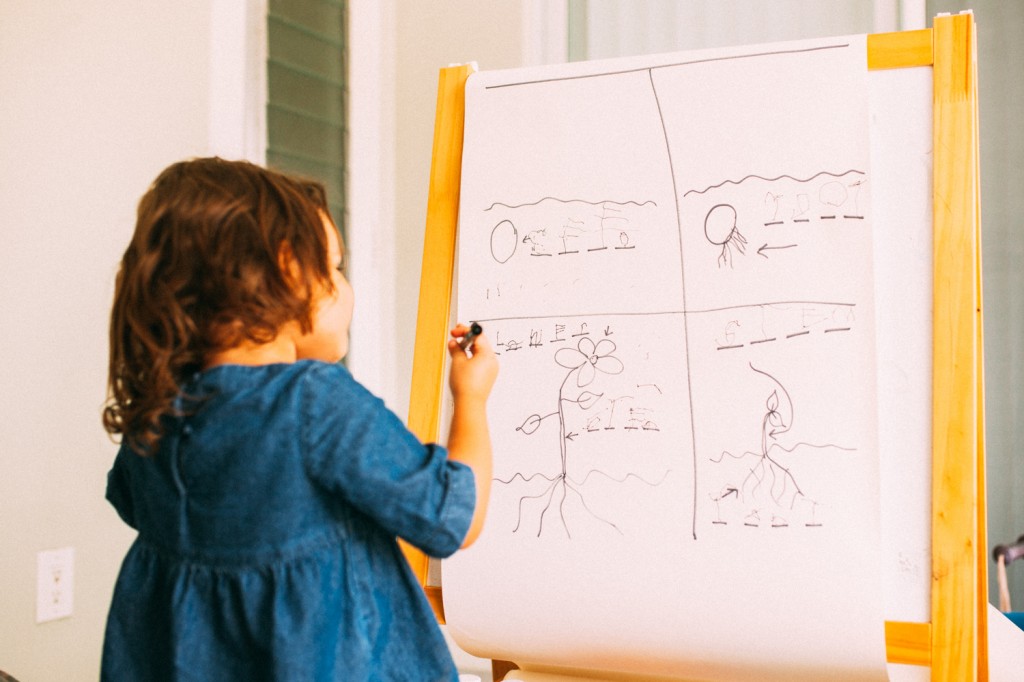
This served as the perfect distraction for me to get all of the materials ready for our experiment, but she could still be outside with me and watch what I was doing. Her handwriting needs tremendous work, so we’re working on following through and trying our best to write – and that mistakes are okay to make. We address them, and do better next time – which has worked better for us in the grand scheme of things.
Here’s what was going on while she worked on her Plant Parts Painting Fun, and the materials you’ll need.
1) Long Planter and/or 2 Circle Planters ($4)
2) Potting Soil ($6)
3) 4 Seeds of your choice (About $5, Total)
STUFF FROM AROUND THE HOUSE
4) A Ziploc Bag
5) Paper Towel
6) A Spoon
7) Water
8) Any kind of stick, string or marking to break the long planter into three squares.
We also bought a few other plants, but mainly because we have a Mosquito Problem so Citronella & Herbs – and Chech loved the Sunflowers and Wildflowers, so I couldn’t take them out of the cart.
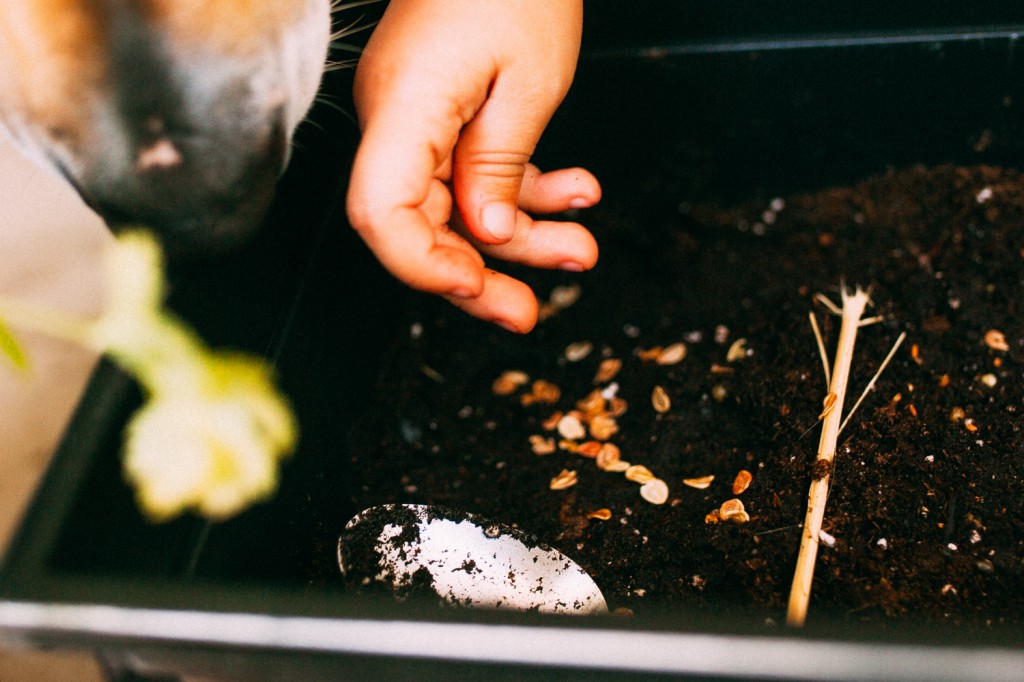
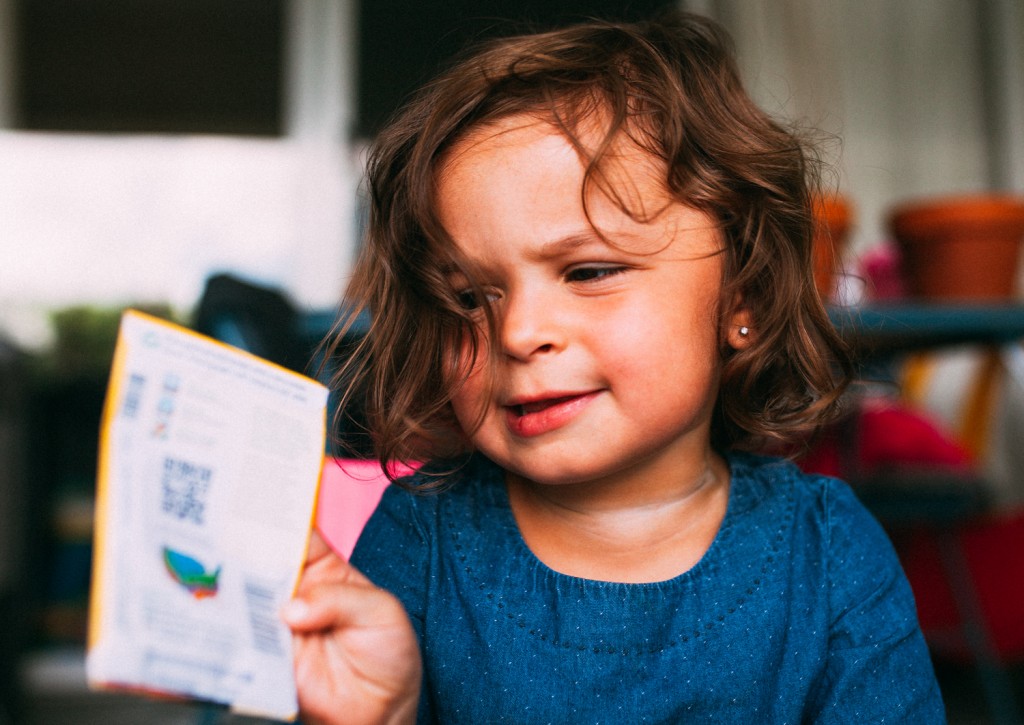
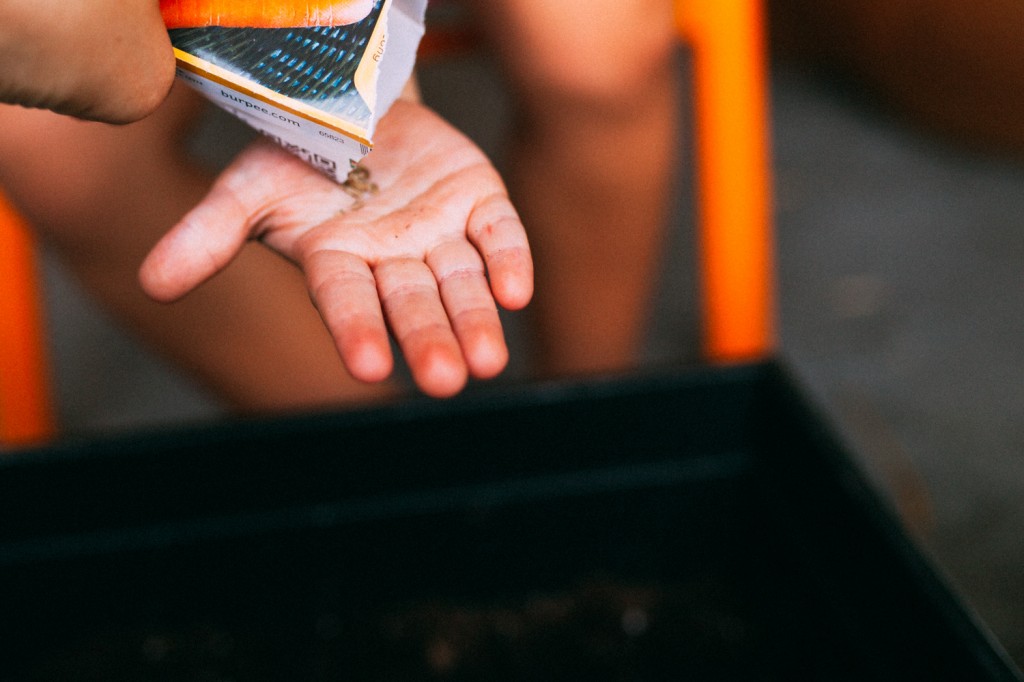
Anyways, so to Prep, I poured the Potting Soil into the planters, moistened and loosened up the dirt. Using the spoon, we created little holes in the soil and planted each of the seeds. I chose carrots because Chech was really excited about how they grew when she saw it on the ABCMouse.com book, so I figured why not let her see it for herself. I can’t wait to see her face when she “picks” it from the ground.
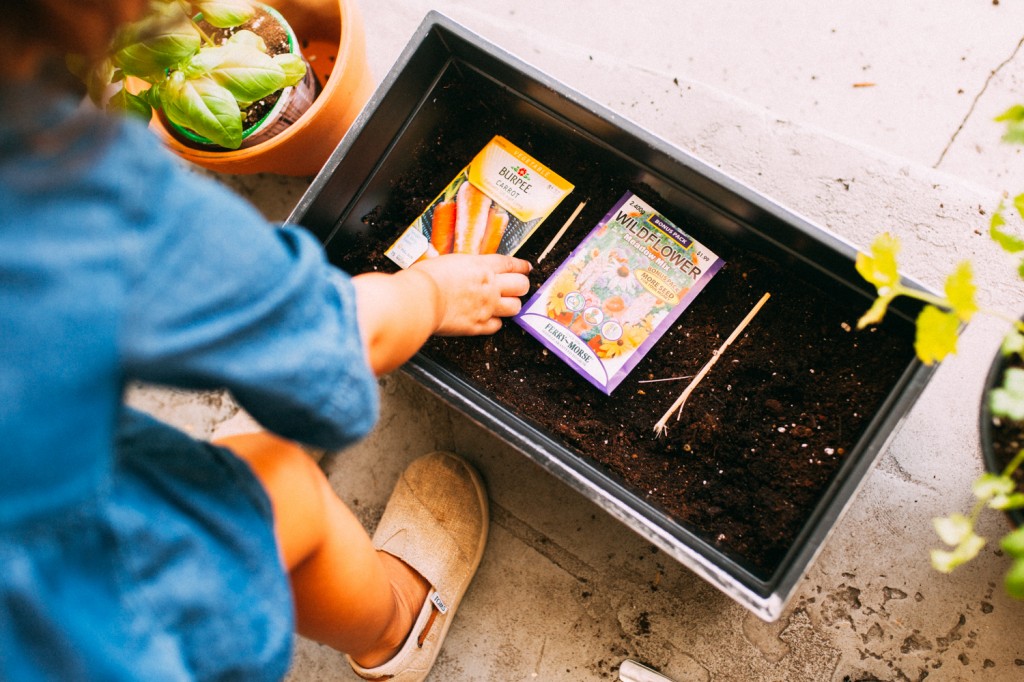
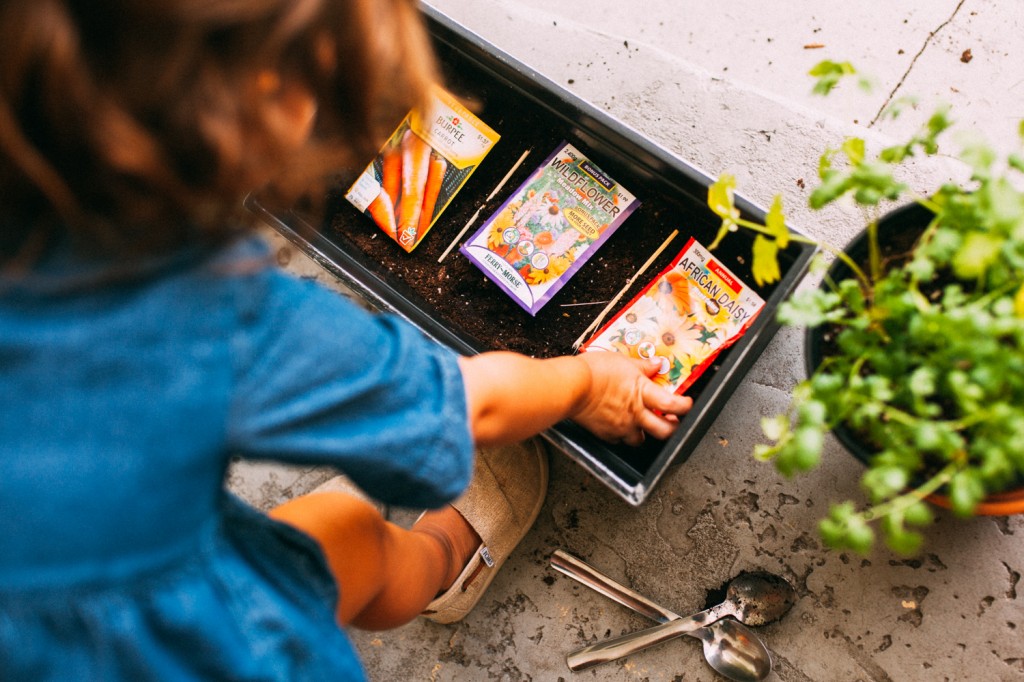
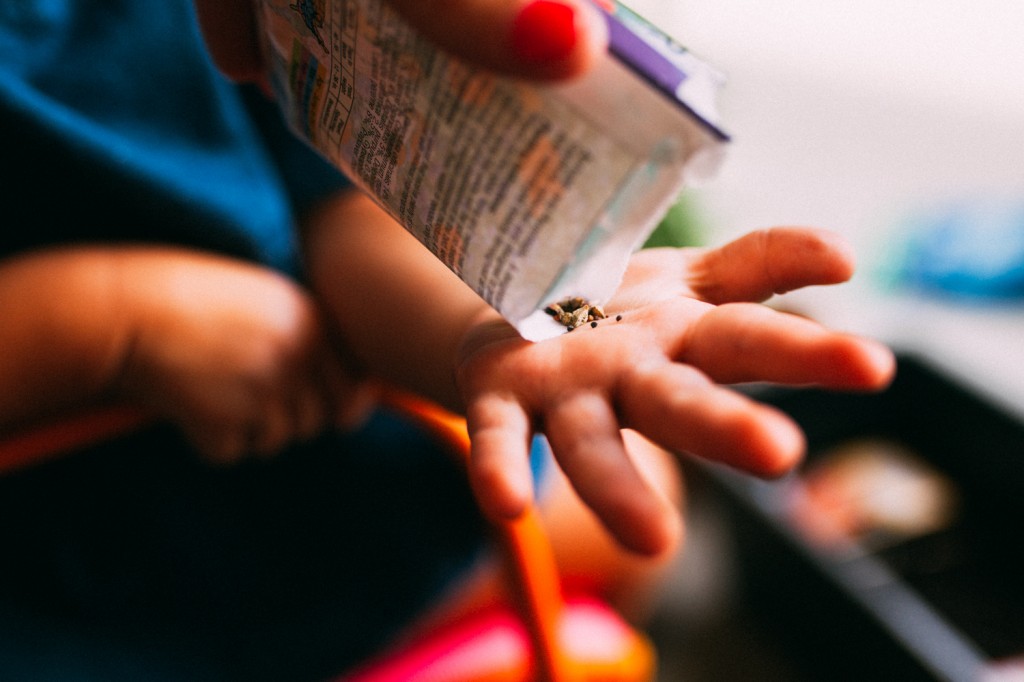
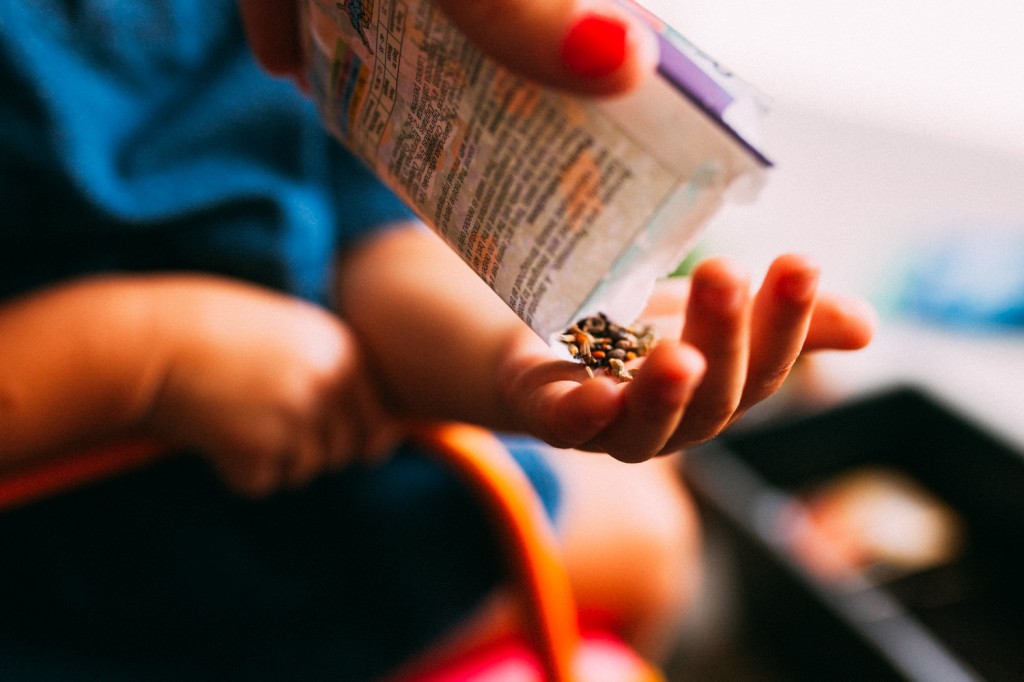
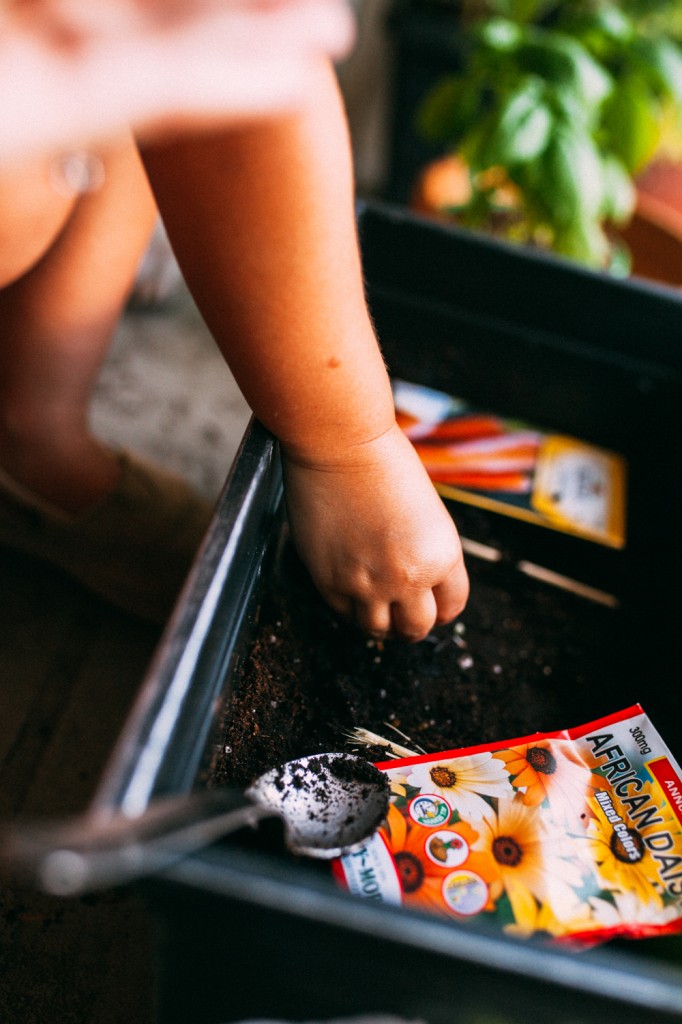
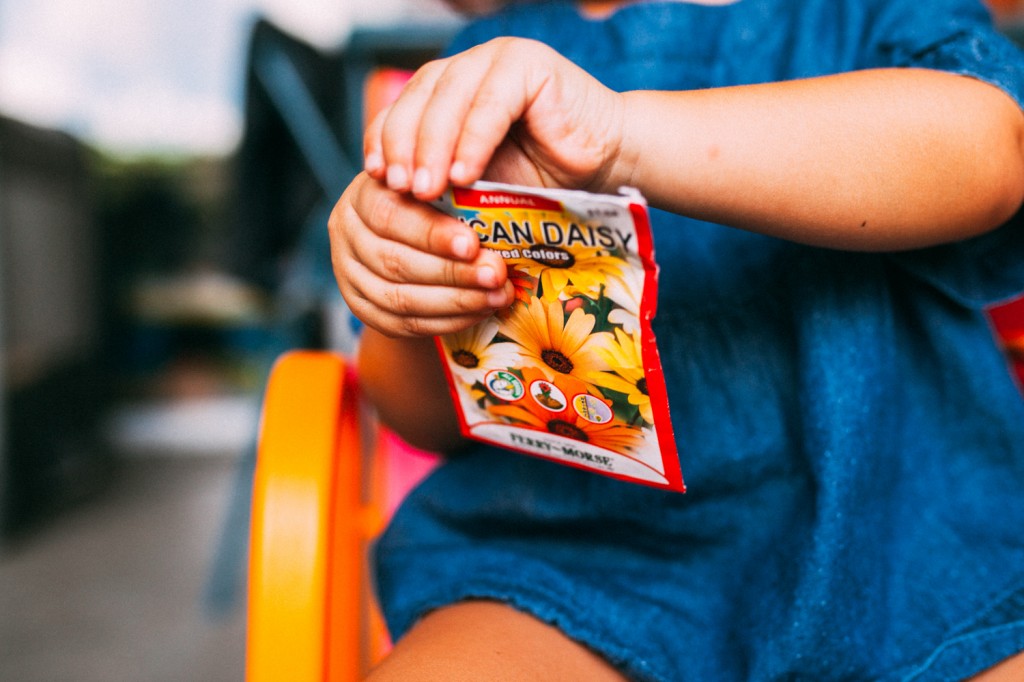


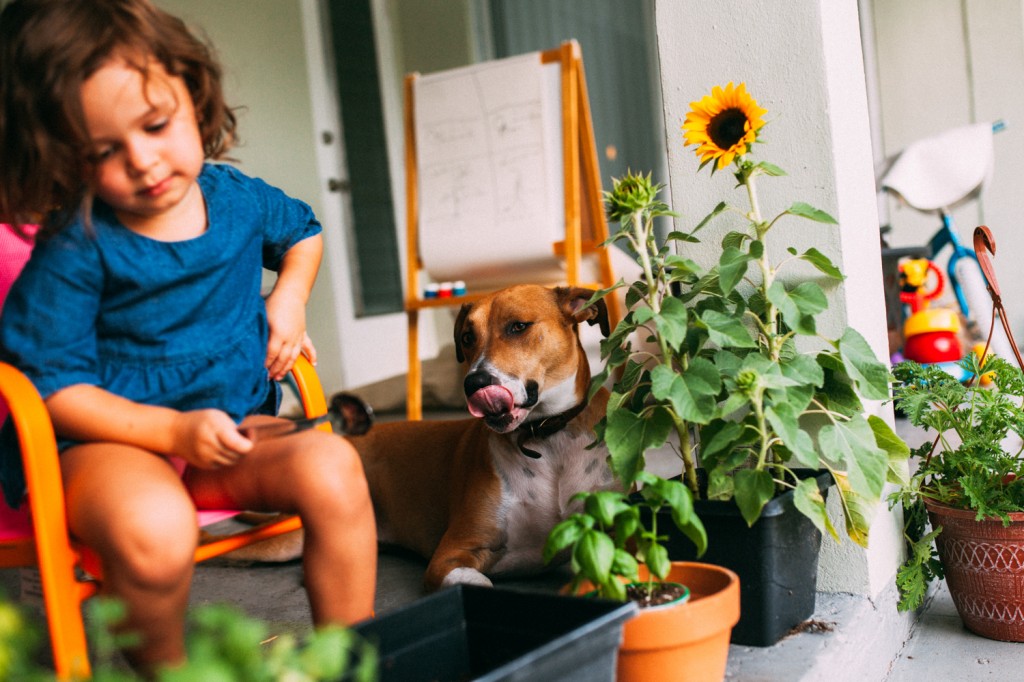
Once that was done, Chech went back to our giant Printable over on the Easel behind her, and painted the pieces – which was much more ‘fun’ than work for her. 🙂
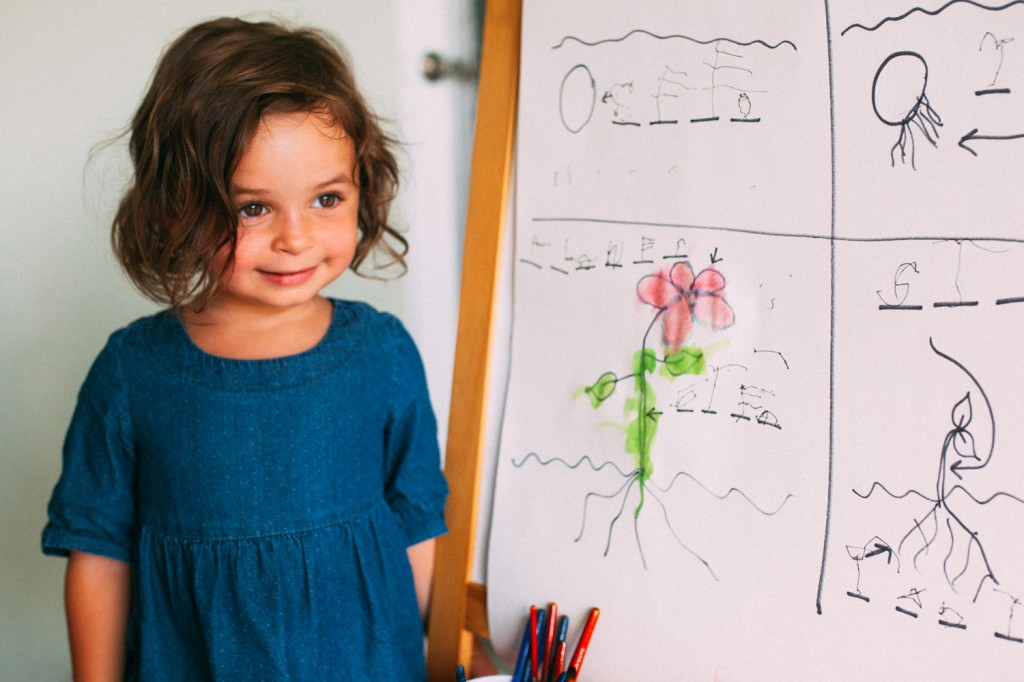
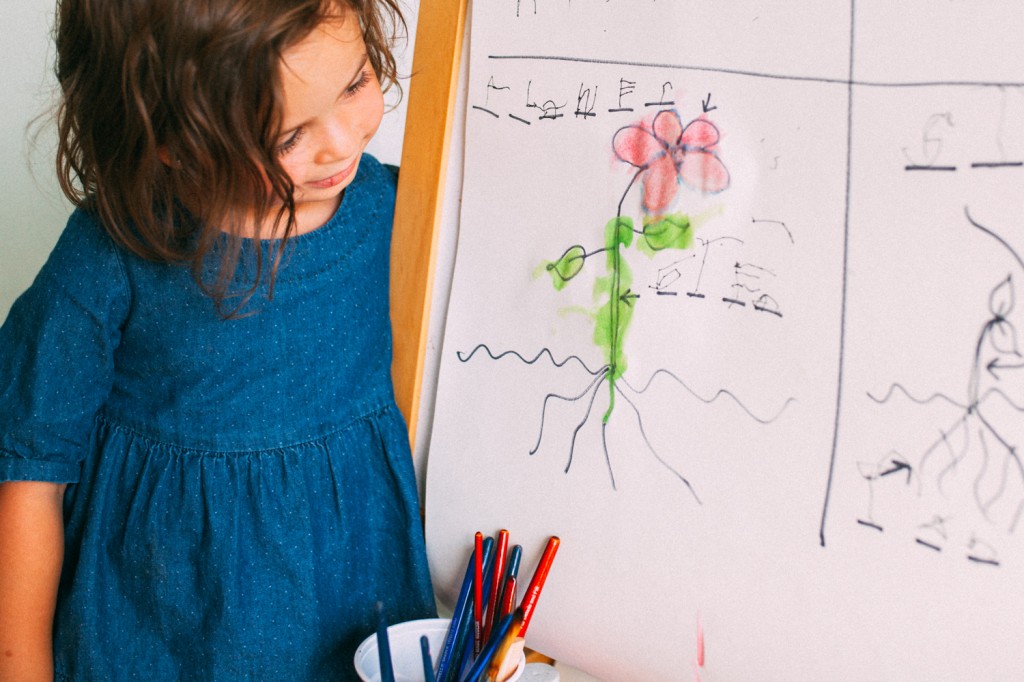
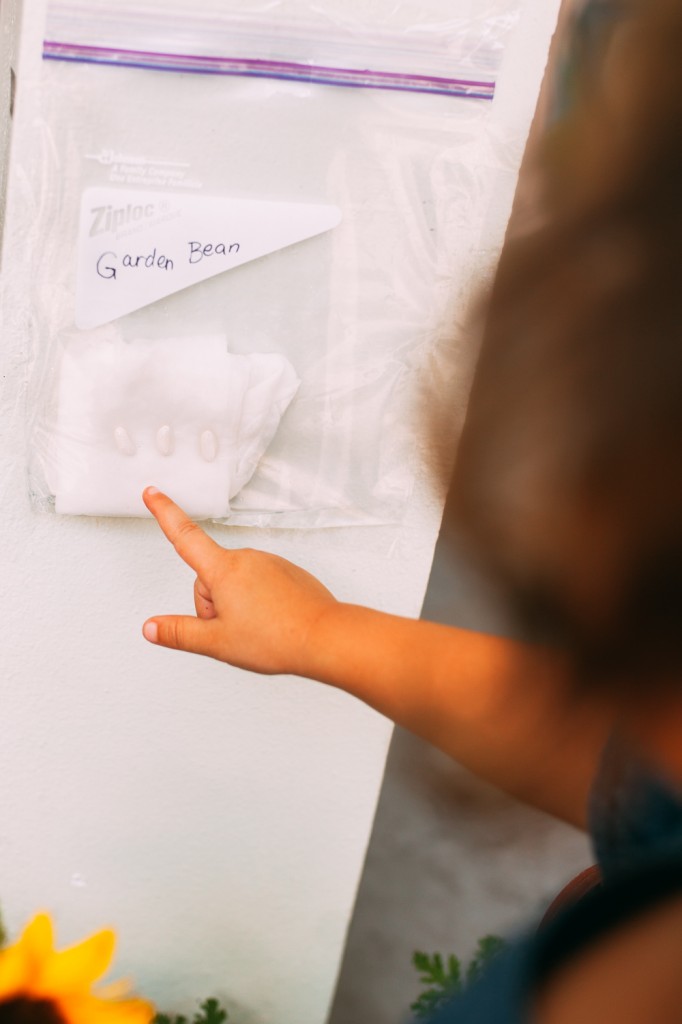
While she played – I began prepping the next piece of the experiment. Seed Germination in a Ziploc Bag.
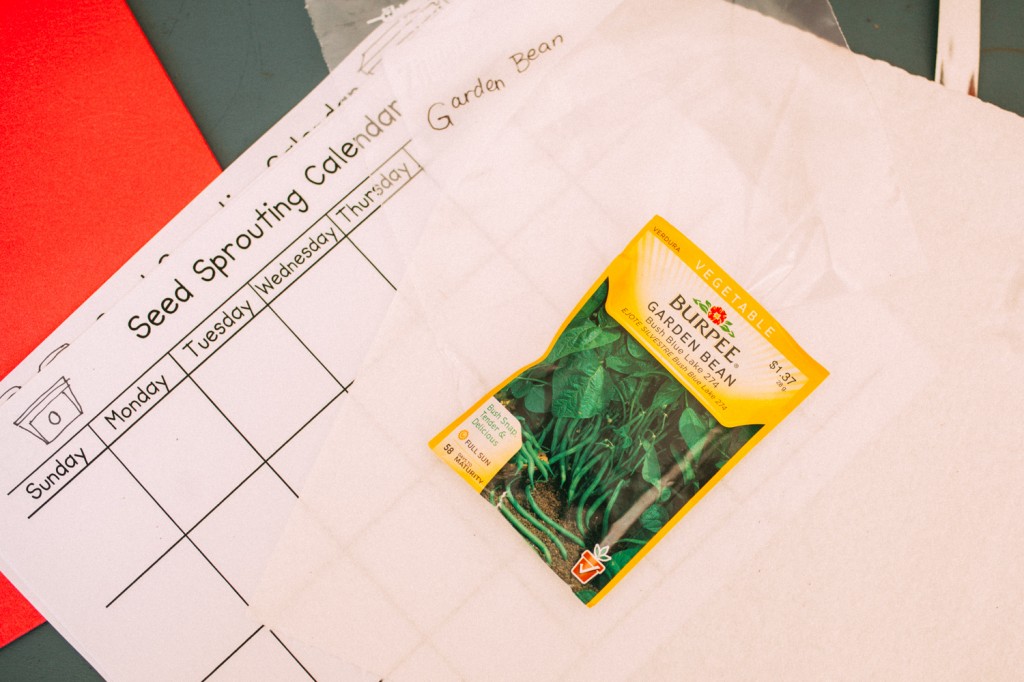
I don’t have many photos of us putting this one together because it was a little tricker for Alex to do on her own. Here are the steps:
1) Dampen the Paper Towel with Water, wring it out so it is just wet enough for the seeds to stick comfortably when pressed into them.
2) Carefully place the Paper Towel and Seeds into the Ziploc Bag.
3) Place in a spot where light is abundant and nothing will knock it over. We taped it onto the wall on our patio next to where the other potted plants were.
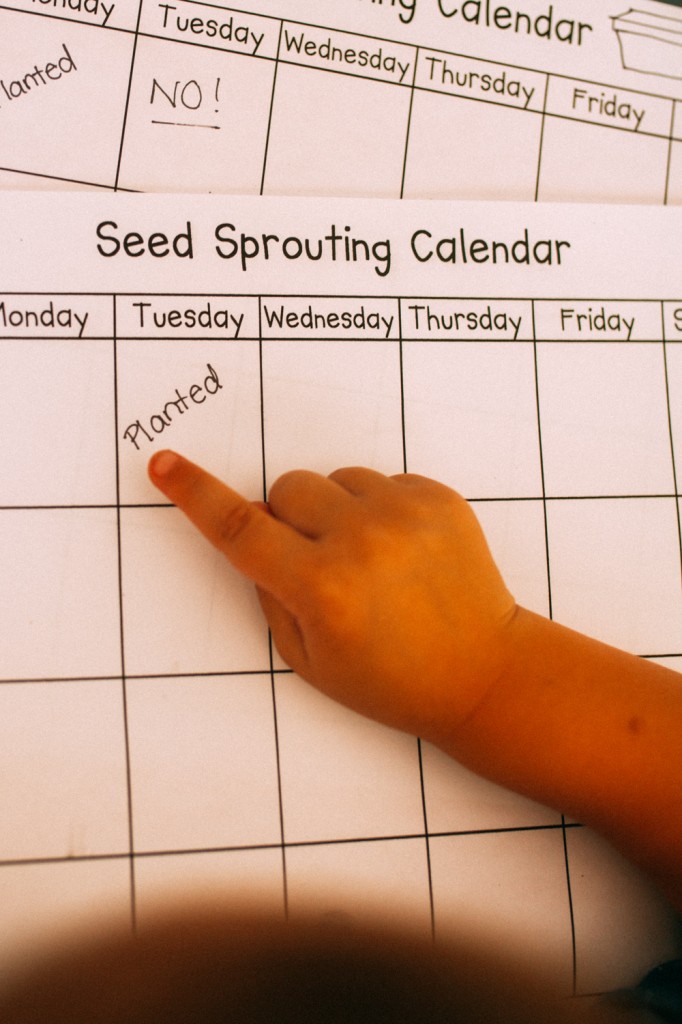
So in order to track our progress, I printed seed sprouting calendars from the Plant Life Cycle Packet I mentioned above, and drew pictures on each one to represent each ‘experiment’. We documented when we planted them; and now we wait for Sprouts!
I’m so excited about this project, as I really think Chech is going to enjoy checking in on her plants and watching them “grow up” as she calls it. Not to mention, while going through one of the Annual Flowers we purchased at Home Depot, we found a MONARCH BUTTERFLY CATERPILLAR!
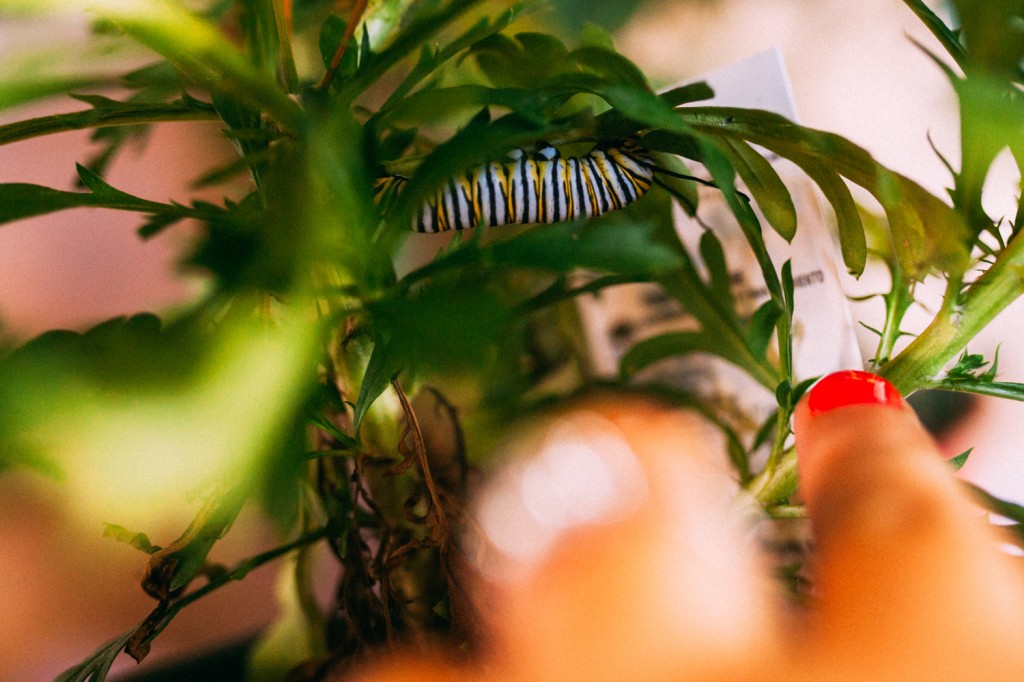
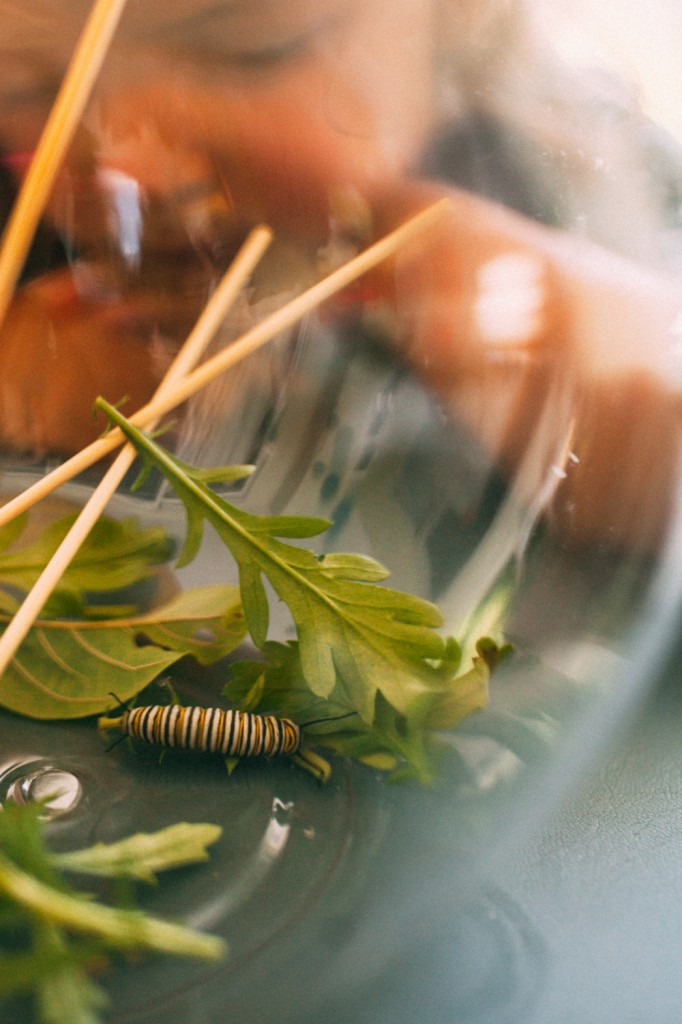
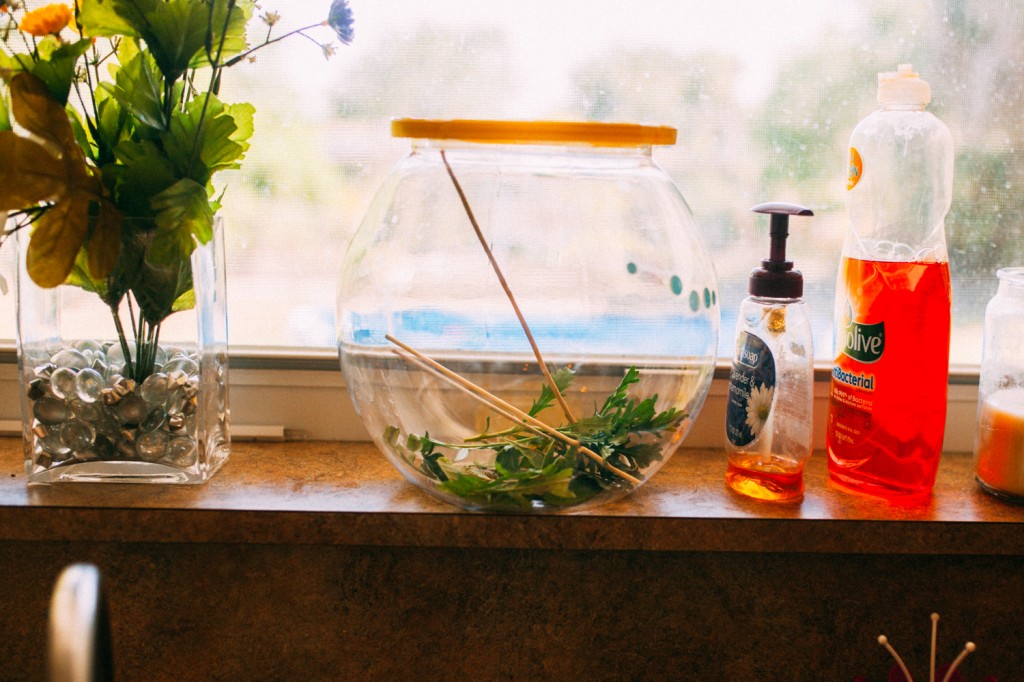
A few months back we purchased a Chrysalis from Butterfly World to learn about the Life Cycle of a Butterfly, and she named him Pancho. He emerged and she cried when we released him… so now every time we see a Zebra Longwing Butterfly, she says it’s Pancho coming back to visit her. Chech named her new one “Nessa” and is excited to watch her “Metamorphosis” into a new pretty “girl butterfly”. She’s going to FLIP when she see’s how big this butterfly is going to be! As of right now, this little guy or girl is hanging upside down in the J position getting ready to spin it’s Chrysalis! She’s going to freak in the morning! Talk about an added bonus!
Well, thanks for checking out our first BIG homeschooling science project – follow along to stay updated on our plants’ progress!! Follow our little blog over there on the right hand side for posts to go right to your inbox, and feel free to leave some love below – how do YOU teach plant life cycles? Got any cool suggestions for lesson ideas? Share them with me!!

This is wonderful! You’re amazing! You’re doing a great job of putting your children in the way of observation. And what sweet children! Love that little blue dress!
Oh thank you so much! I’m trying very hard to jump into the concept of Homeschooling and not get overwhelmed – but it’s so hard! My goal is to be much more structured in my approach and we’ll see how it works! 🙂